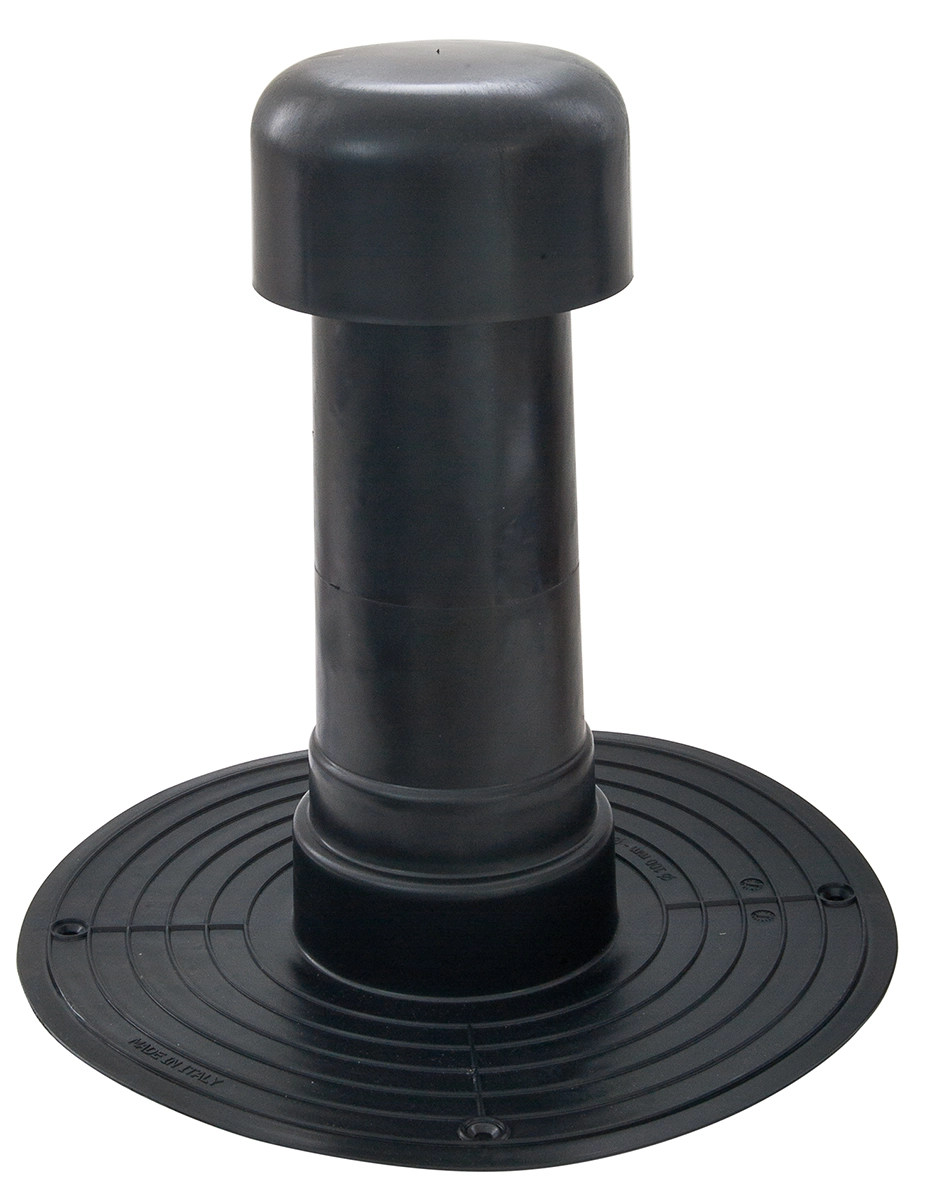
TPE Breather Vent with Cover
Used for managing trapped moisture and air pressure beneath flat roof assemblies
TPE Flat-Roof Breather Vent with Cover
Reliable Pressure Equalisation for Modern Roofs
Designed specifically for single-ply membrane systems, our Thermoplastic Elastomer TPE Flat-Roof Breather Vent provides a durable, watertight solution for managing trapped moisture and air pressure beneath flat roof assemblies. Unlike traditional plastic or metal vents, TPE offers exceptional flexibility, UV resistance and cold-weather performance without cracking or warping.
Key Uses:
Release trapped vapour – prevents blistering and membrane delamination by allowing water vapour and expansion gases to escape the roof substrate.
Prevent splitting – the elastomeric body flexes with roof movement and temperature changes, ensuring the vent remains sealed and intact over time.
Long-term weatherproofing – highly resistant to ponding water, ozone and extreme temperatures, providing a maintenance-free solution for built-up, modified bitumen and fully adhered EPDM/TPO roofs.
Install seamlessly with standard adhesives or heat welding for a permanent, leak-proof seal. Choose Stratarise's TPE Flat-Roof Breather Vent for a smarter, longer-lasting flat roof ventilation system.
Recommended Installation
Proper installation is essential to ensure long-term performance and a watertight seal. Follow these best practices when fitting TPE breather vents on flat roofing systems.
Assess the roof substrate – Identify areas where trapped vapour or positive pressure is present (e.g., blisters, soft spots, or delaminated membrane sections). Install vents at the highest points of the roof or at locations where moisture is known to be trapped.
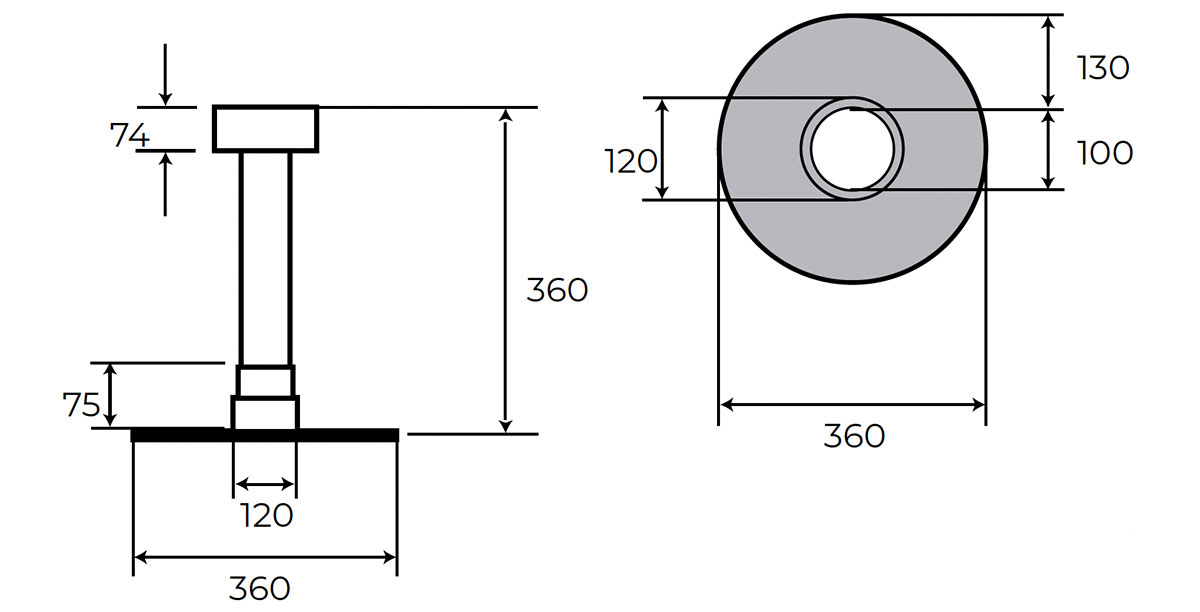
Cut the membrane opening – Carefully cut a circular opening through the roofing membrane and into the insulation or substrate, 120mm in diameter. Ensure the hole penetrates deep enough to reach the vapour-generating layer (e.g., wet insulation or decking).
Prepare the vent – Check that the TPE vent is clean and free from debris. For heat-weldable membranes (e.g., TPO, PVC), ensure the vent base is compatible with the roof membrane material.
Secure the vent base – Use either the adhesive method (apply a compatible roofing adhesive or contact cement to the underside of the vent flange and the membrane surface, then press firmly and roll for full contact) or the heat welding method (use a hot-air welding gun to fuse the TPE vent flange directly to the roof membrane, maintaining consistent temperature and pressure).
Seal the perimeter – Apply a continuous bead of compatible lap sealant or flashing cement around the outer edge of the vent flange for extra waterproofing. Ensure no gaps or pinholes remain.
Final check – Confirm the vent cap or pressure relief mechanism is unobstructed and free to open under pressure. Inspect the installation for any signs of lifting, fishmouths, or incomplete adhesion.
Important notes:
Do not install vents in ponding water areas.
Space vents approximately 4 to 6 metres apart in grids for large roof areas, depending on vapour pressure and local building codes.
Always follow the membrane manufacturer's recommendations for compatibility with TPE accessories.
| Ref No. | Description | Dimensions | Box Qty. |
| TPEBV-360/120/360-01 | TPE Breather Vent with Cover | Ø 360 x 120 x 360 mm long | 1 pc. |
| TPEBV-360/120/360-02 | TPE Breather Vent with Cover | Ø 360 x 120 x 360 mm long | 2 pc. |
| TPEBV-360/120/360-01 | TPE Breather Vent with Cover | Ø 360 x 120 x 360 mm long | 10 pc. |